

February 28, 2025
DIY wall painting is a cost-effective way to refresh your home while giving you full creative control. Instead of spending on professional painters, you can achieve great results with the right tools and techniques. Plus, it’s a fun and rewarding project!
In this guide, you’ll find expert home painting tips, step-by-step instructions, and time-saving hacks to make the process smooth and efficient. Whether you’re a beginner or looking to refine your skills, this interior painting guide will help you achieve a flawless finish. Let’s get started!
Hiring professional painters can be expensive, and while they guarantee a flawless finish, doing it yourself is an excellent way to save money and add a personal touch. Home painting tips can help you avoid common mistakes, ensuring your walls look as good as a professional job. Plus, painting can be a fun, creative project that enhances your home’s ambiance.
A successful DIY wall painting project starts with careful planning. Taking the time to define your goals and choose the right colors will save you effort and ensure a beautiful result.
Before picking up a paintbrush, decide which areas of your home need a refresh. Are you painting an entire room, a single accent wall, or just touching up scuffed surfaces? Defining your scope will help you estimate the amount of paint and supplies needed.
Also, consider your long-term vision. If you plan to repaint multiple rooms, creating a cohesive color scheme will enhance your home’s aesthetic flow.
Color plays a huge role in setting the mood of a room. Light colors can make small spaces feel bigger, while darker shades add depth and coziness. Additionally, natural and artificial lighting impacts how colors appear throughout the day.
To make the best choice, use online color visualizers or paint samples to preview shades before committing. Testing swatches on your walls in different lighting conditions will help you pick the perfect hue.
Having the right tools and materials is crucial for a smooth DIY wall painting experience. The type of paint and finish you choose, along with the quality of your tools, will determine how professional your results look.
When selecting paint, you’ll typically choose between latex and oil-based options.
The finish also matters:
A successful DIY wall painting project requires more than just a brush and paint. Here are the essentials:
Proper preparation is the key to achieving a smooth, long-lasting paint job. Taking the time to clean, repair, and tape your walls will make a huge difference in the final result.
Before applying paint, ensure your walls are free of dust, dirt, and grease. Use a damp cloth or mild detergent solution to wipe down surfaces, especially in kitchens and high-traffic areas. For tougher stains, a mix of water and vinegar can help.
Next, inspect the walls for cracks, holes, or dents. Use spackle or wall filler to patch up any imperfections, then sand the area smooth once it dries. This step ensures an even finish and prevents flaws from showing through the paint.
For crisp, professional-looking lines, painter’s tape is essential. Apply it along baseboards, door frames, and ceilings, pressing firmly to prevent paint from bleeding underneath.
When removing the tape, wait until the paint is slightly dry but not fully cured. Slowly peel it off at a 45-degree angle to avoid chipping the paint. Taking your time with taping ensures sharp, clean edges and a polished final look.
Using the right DIY wall painting techniques can make all the difference in achieving a smooth, professional-looking finish. By mastering cutting in and rolling, you’ll avoid streaks, uneven coverage, and visible brush marks.
Before using a roller, start with cutting in a technique where you paint along edges, corners, and trim using a high-quality angled brush. This step saves time by reducing the need for touch-ups later.
To cut in properly:
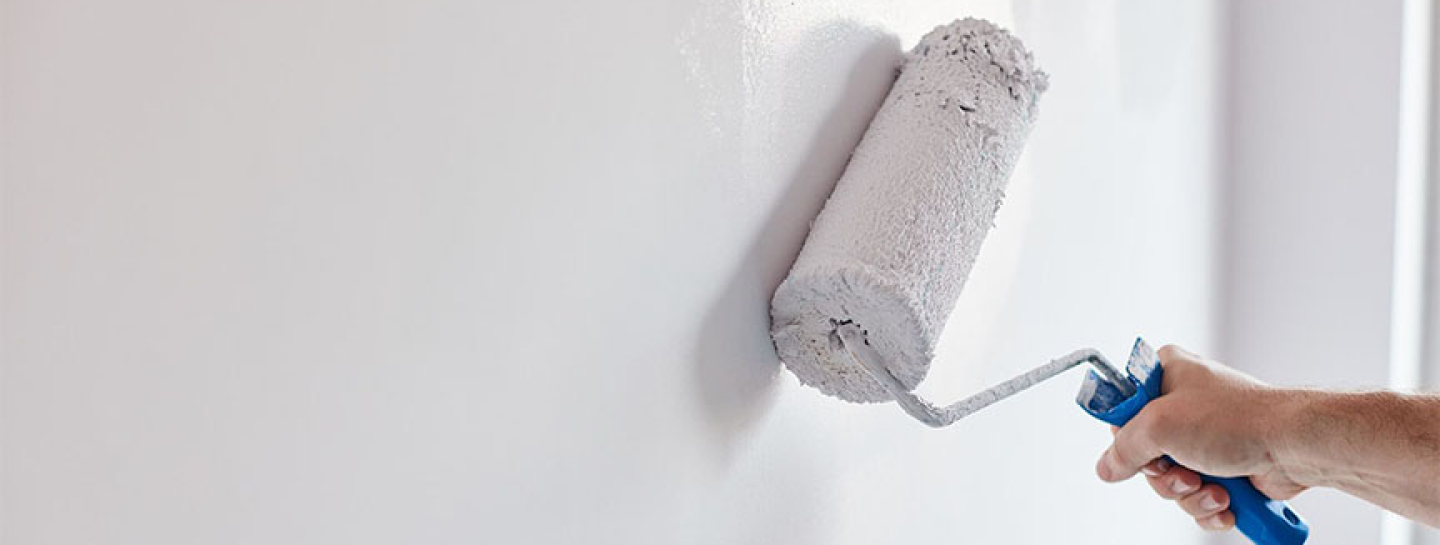
Once you’ve cut in, it’s time to use a roller for the main surfaces. To prevent streaks and uneven coverage, use the “W” or “M” technique:
Even with the best home painting tips, mistakes can happen. Understanding common pitfalls and how to avoid them will help you achieve a smooth, professional finish with your DIY wall painting project.
Primer plays a crucial role in ensuring even coverage and long-lasting results. It helps paint adhere better, enhances color depth, and prevents stains or old colors from showing through.
When should you use a primer?
Choosing the right primer depends on your wall type. Water-based primers are great for drywall, while oil-based primers work best for glossy or heavily stained surfaces.
Applying too much paint can lead to drips and an uneven finish, while too little can cause streaks and poor coverage. To get the right balance:
Painting your home doesn’t have to take forever. With the right strategy, you can complete your DIY wall painting efficiently without compromising on quality.
A well-planned approach helps you avoid unnecessary mess and touch-ups. Follow these key steps for a smoother workflow:
Waiting for paint to dry can slow down your progress, but a few smart tricks can help speed things up:
Once you’ve finished your DIY wall painting project, proper cleanup and maintenance will help preserve your hard work. Taking care of your tools and walls ensures a long-lasting, beautiful finish.
Reusing high-quality brushes and rollers can save you money for future projects. Follow these steps for proper cleaning:
To keep your walls looking fresh, regular maintenance is key:
DIY wall painting is an achievable project that saves money while giving your home a fresh, updated look. By following this interior painting guide, you’ll be well-equipped to handle both small and large painting tasks with confidence. Remember, the key to a flawless finish is preparation, patience, and the right tools. Now, grab your brush and get started!